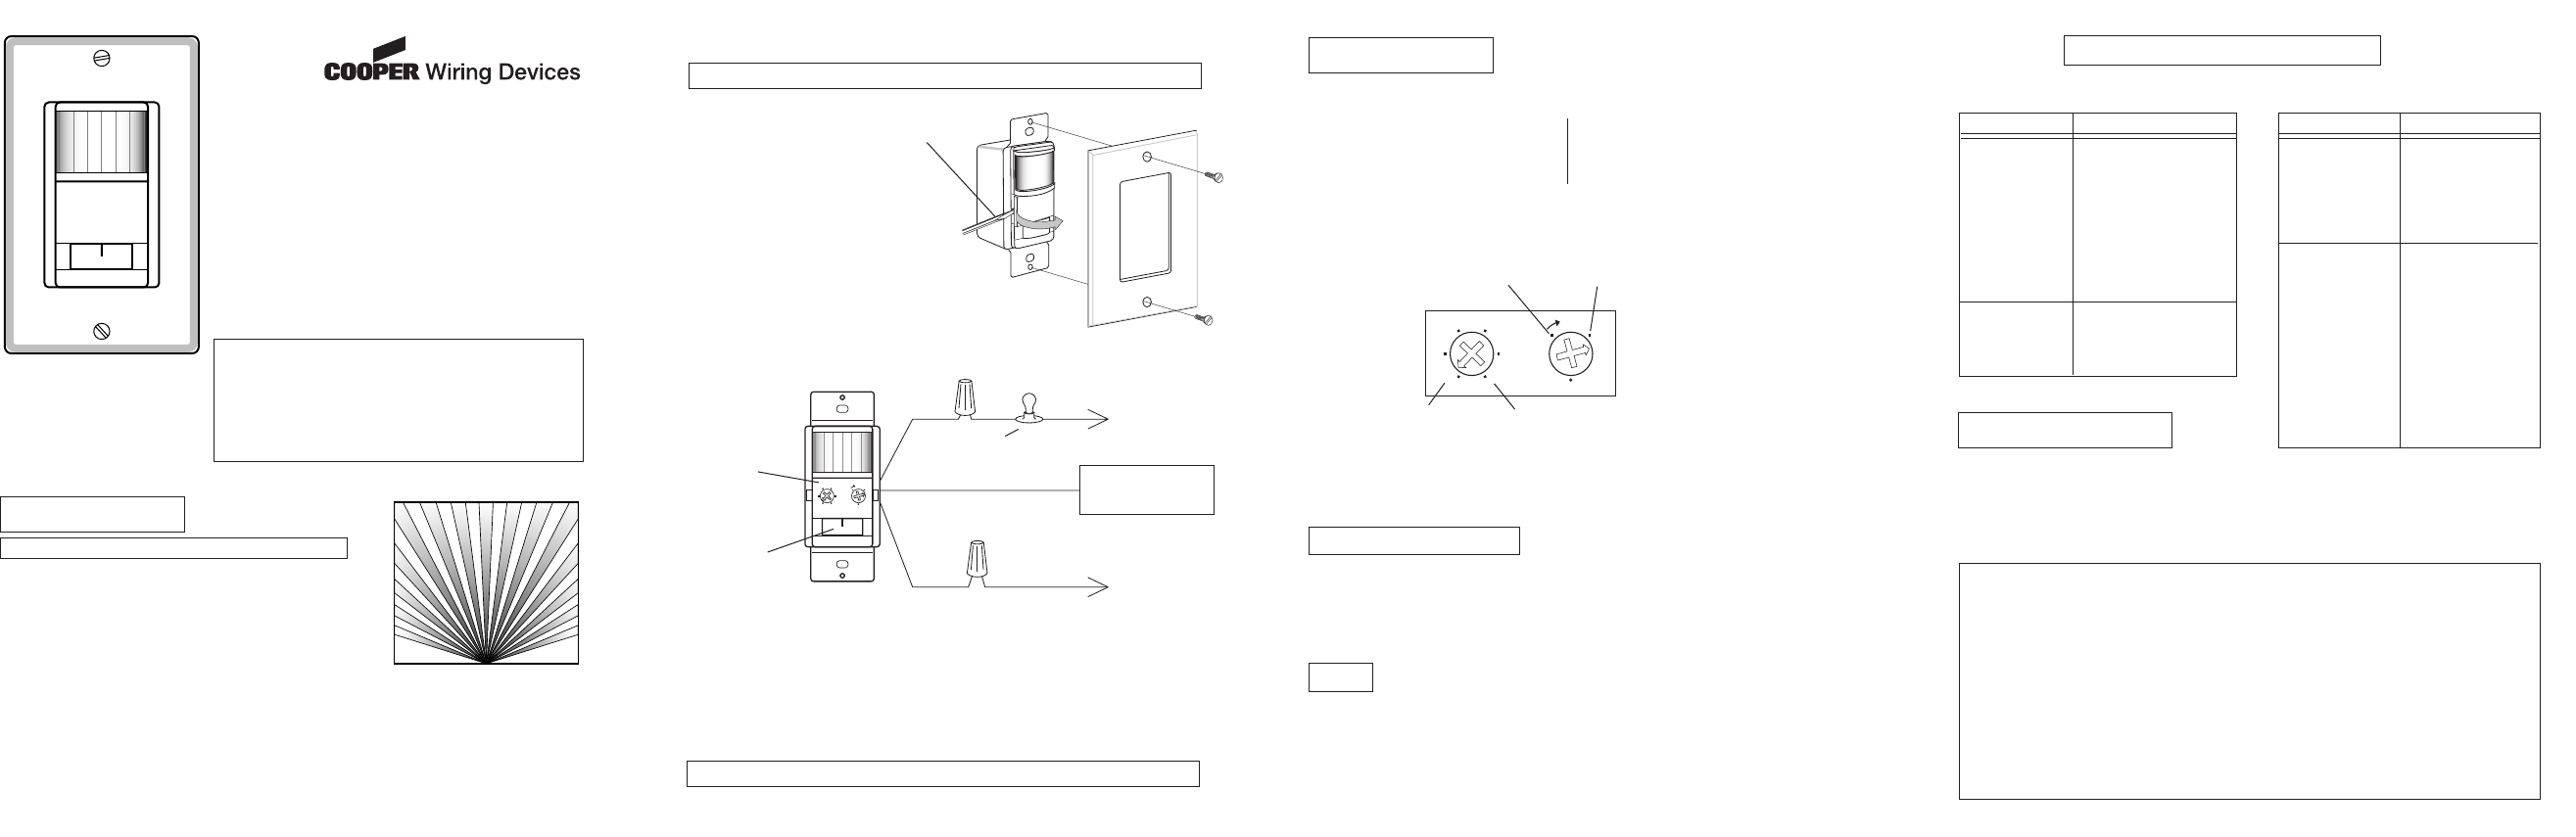
Below is a diagram of a smart switch installed in the first configuration with neutral. See sample wiring configurations mount the switch into the wall box by partially securing the wall box screws attached to the switch.

Wireless Light Switch With Receiver Kit
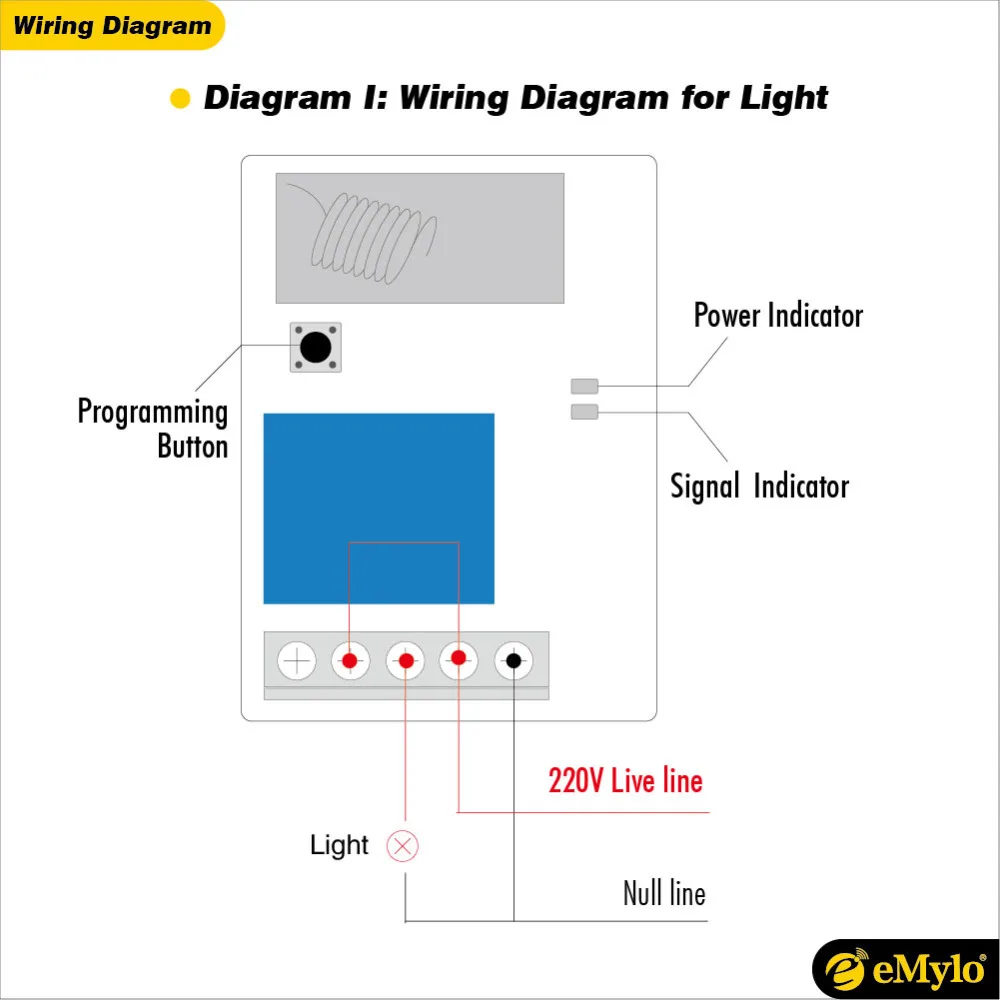
Wireless light switch wiring diagram. Wiring a 3 way light switch. Skylink tb 318 wireless wall mounted light switch transmitter for skylink receivers white model tb 318 14 23 14 23. Notice that regardless of whether the switch is on or off there is a clear path from line to neutral that includes r1. This diagram illustrates wiring for one switch to control 2 or more lights. Turn off the power one last time so you can safely tuck the receiverrelay into the electrical box and finish the installation. Wiring devices light controls.
Test the light switch. The light switch mounts to the wall at 48 to center preferably inside a doorway. Connect the relay to the fixture and the house wiring see photo 1. Smart switch with neutral. With a pair of 3 way switches either can make or break the connection that completes the circuit to the light. Acegoo kinetic light switch only httpsamznto2jr4l70 acegoo wireless lights switch receiver httpsamznto2y7yok0 amazon luxury products buy it here.
Install a wireless light switch. Finally splice the black wire from the fixture with the red wire from the wireless module and cover with a wire nut. Ensure that the word top on the switch frame is facing up. It does not require any wiring or batteries. Connect the switch wires to the wall box wires using wire nuts according to the relevant wiring diagram. Wiring a 3 way light switch is certainly more complicated than that of the more common single pole switch but you can figure it out if you follow our 3 way switch wiring diagram.
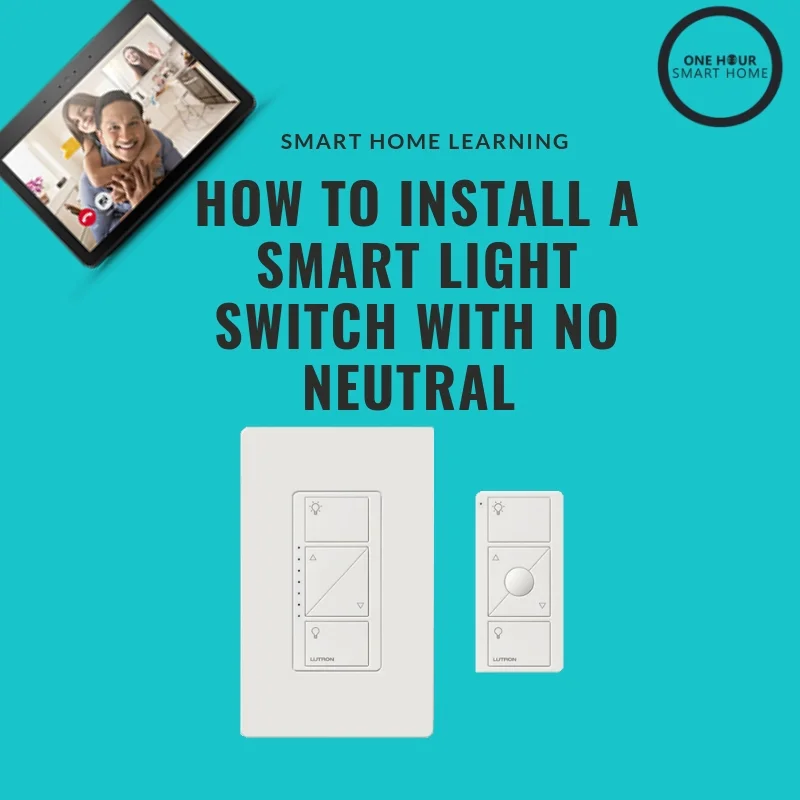
Once you familiarize yourself with your wiring setup choose a smart light switch that fits your situation. The source is at sw1 and 2 wire cable runs from there to the fixtures. Otherwise the smart switch will be unable to power its wireless communication. 8 wireless 13 connect the wires ground 14 attach the wallplate bracket and pico remote control 15 attach the wallplate snap 16 turn power on at circuit breaker 3 way installation caséta wireless in wall switch with pico remote control pairing the switch and pico remote control 17 press and hold off button on switch 0 5 10 15 6 sec. Then turn the power back on and follow the receiverrelay programming instructions. Single pole 6 switch style.
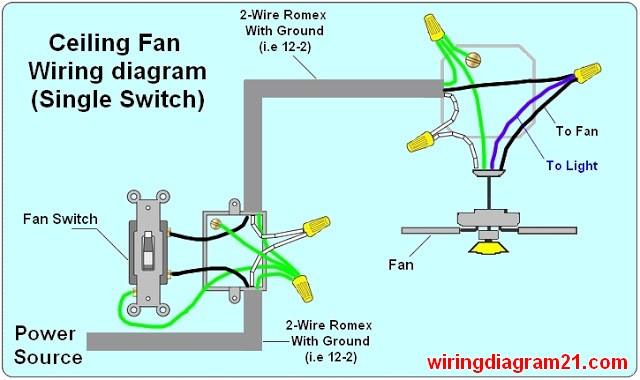
Multiple light wiring diagram. Attach the light fixture to the electrical box following the manufacturers instructions. White 2 beige 1 black 1 brown 1. Bend the wires in a zigzag pattern so. The hot and neutral terminals on each fixture are spliced with a pigtail to the circuit wires which then continue on to the next light. Rocker 6 specialty 2 toggle 1 color family.
With two gang switches you can run into traveler wires and other unique situations.
Gallery of Wireless Light Switch Wiring Diagram